Epoxy Resin 3D Flooring

- MTBJZJ
- China
- 1-5 Days
- 10000 KGS per Week
Epoxy Resin 3D Flooring
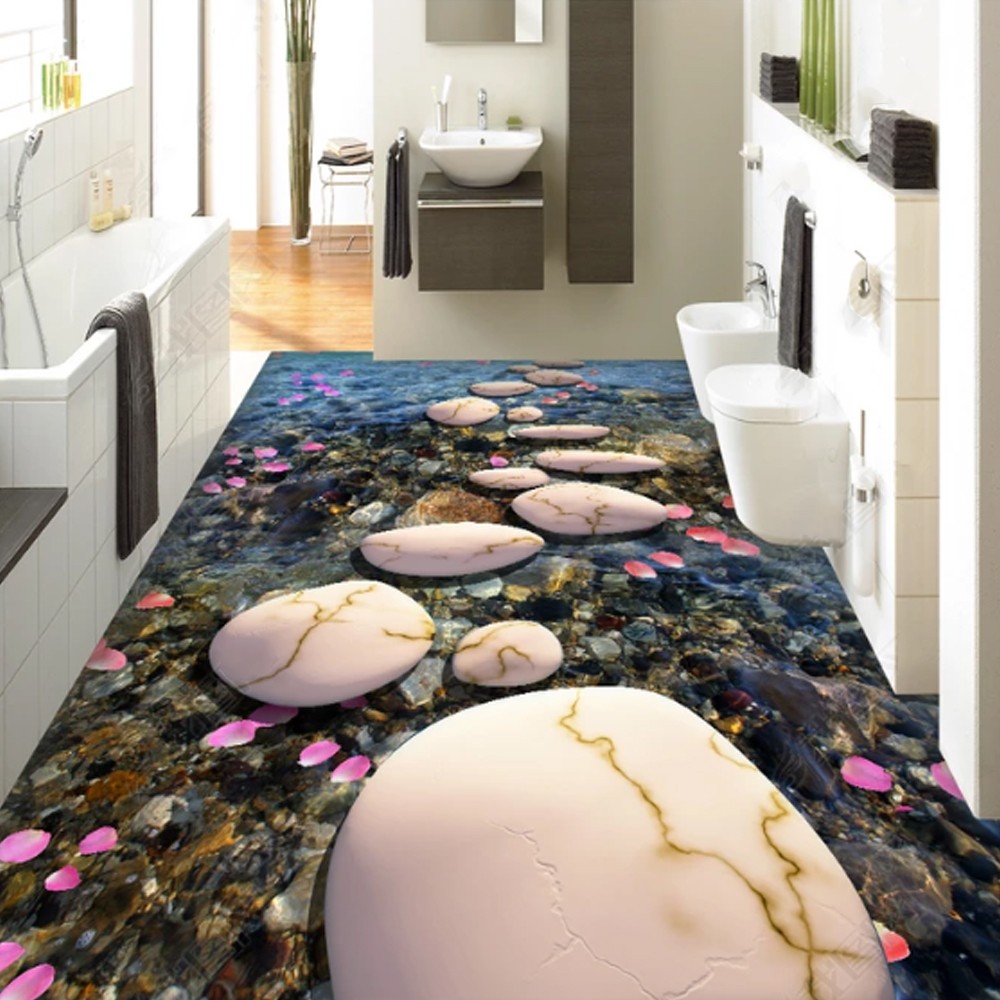
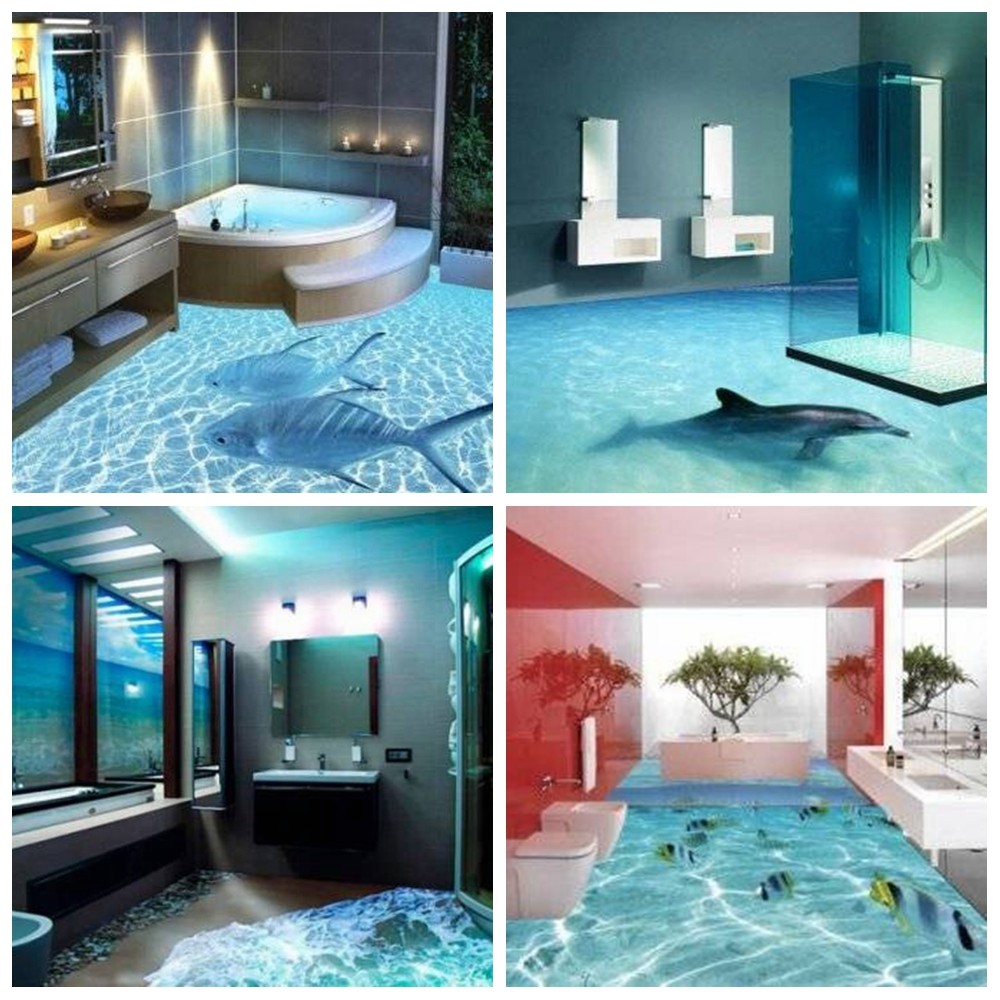
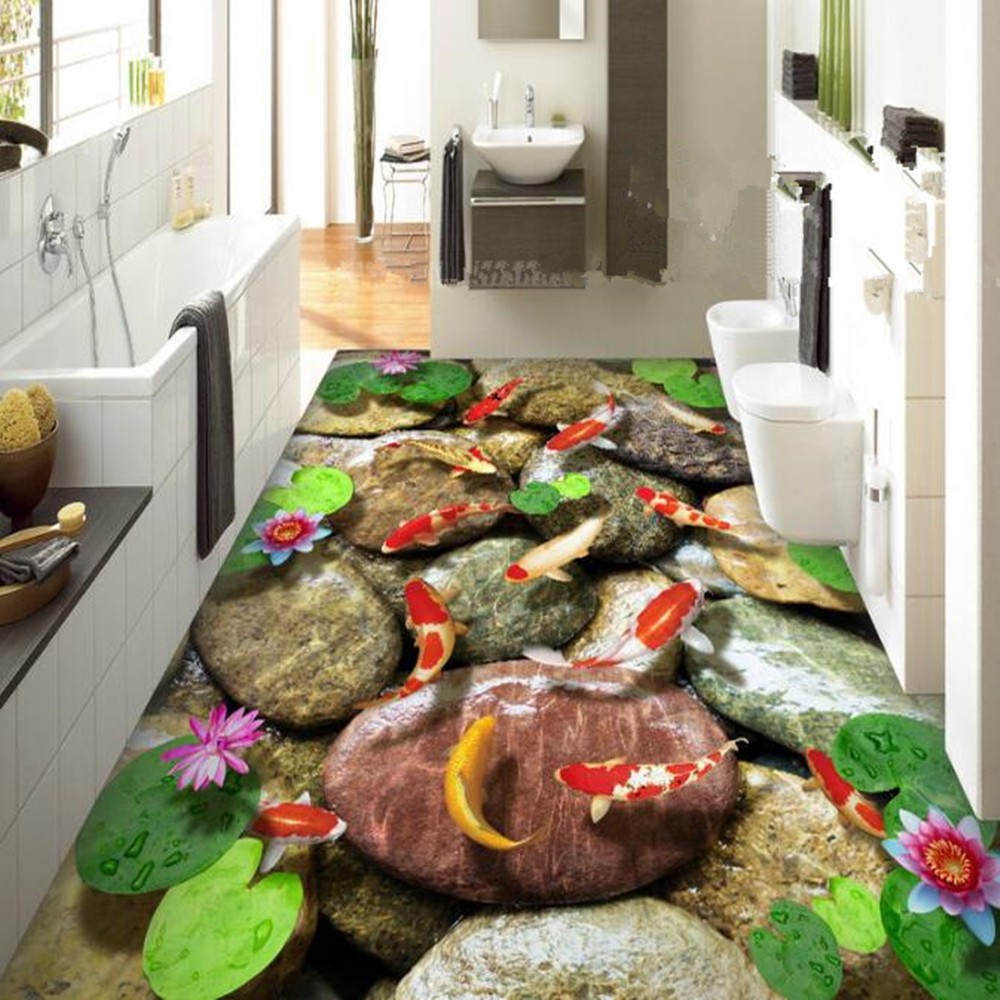
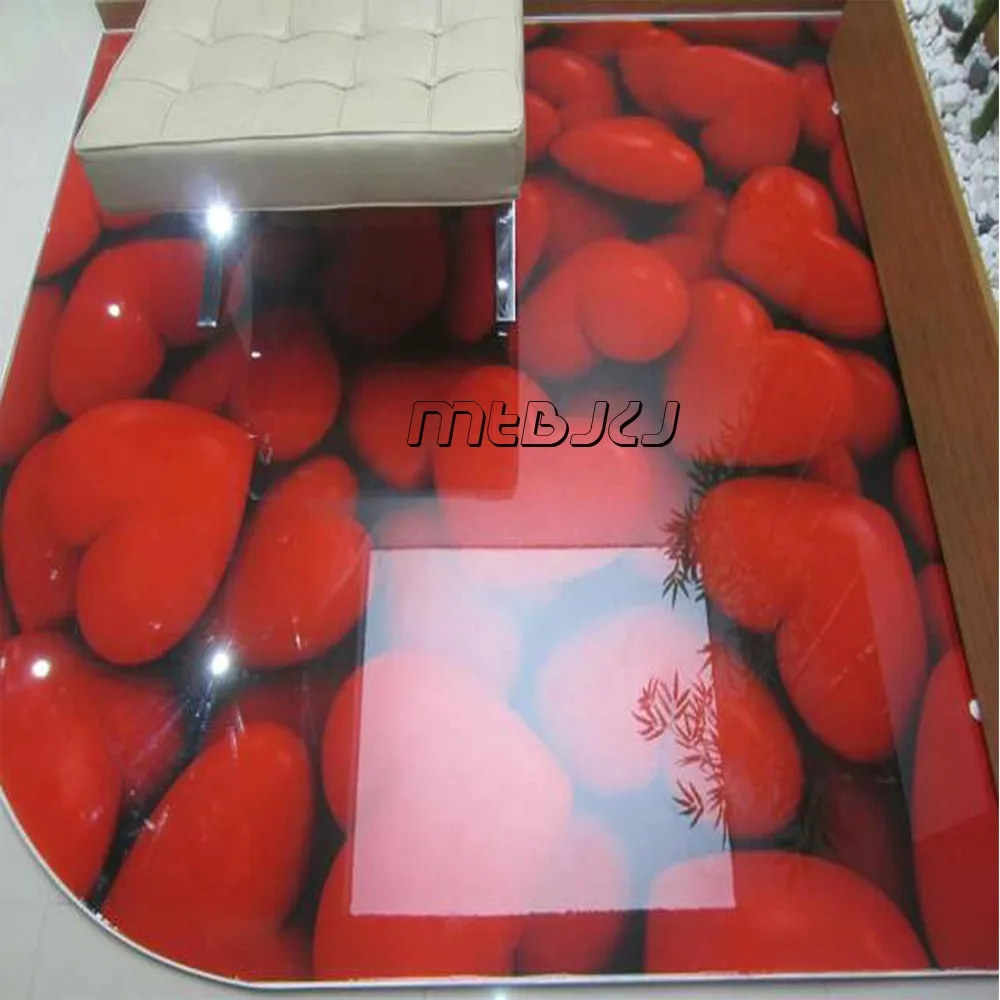
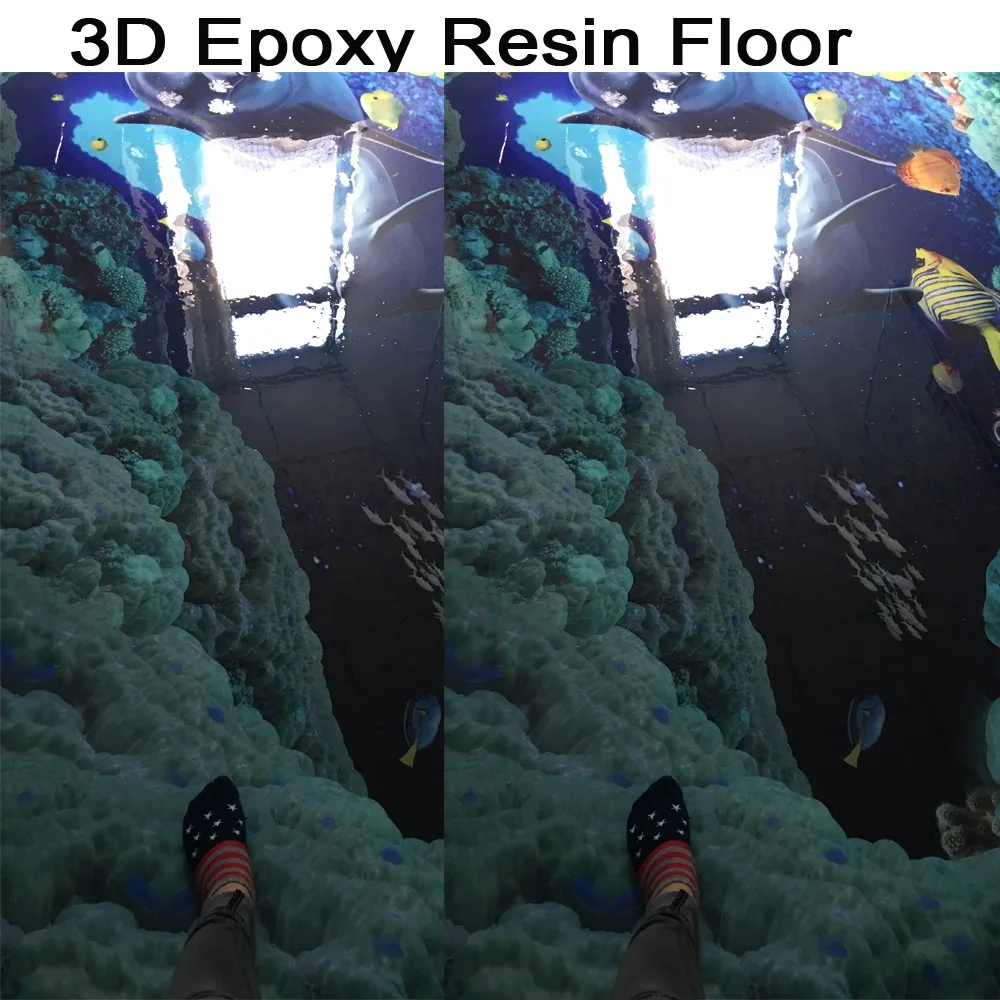
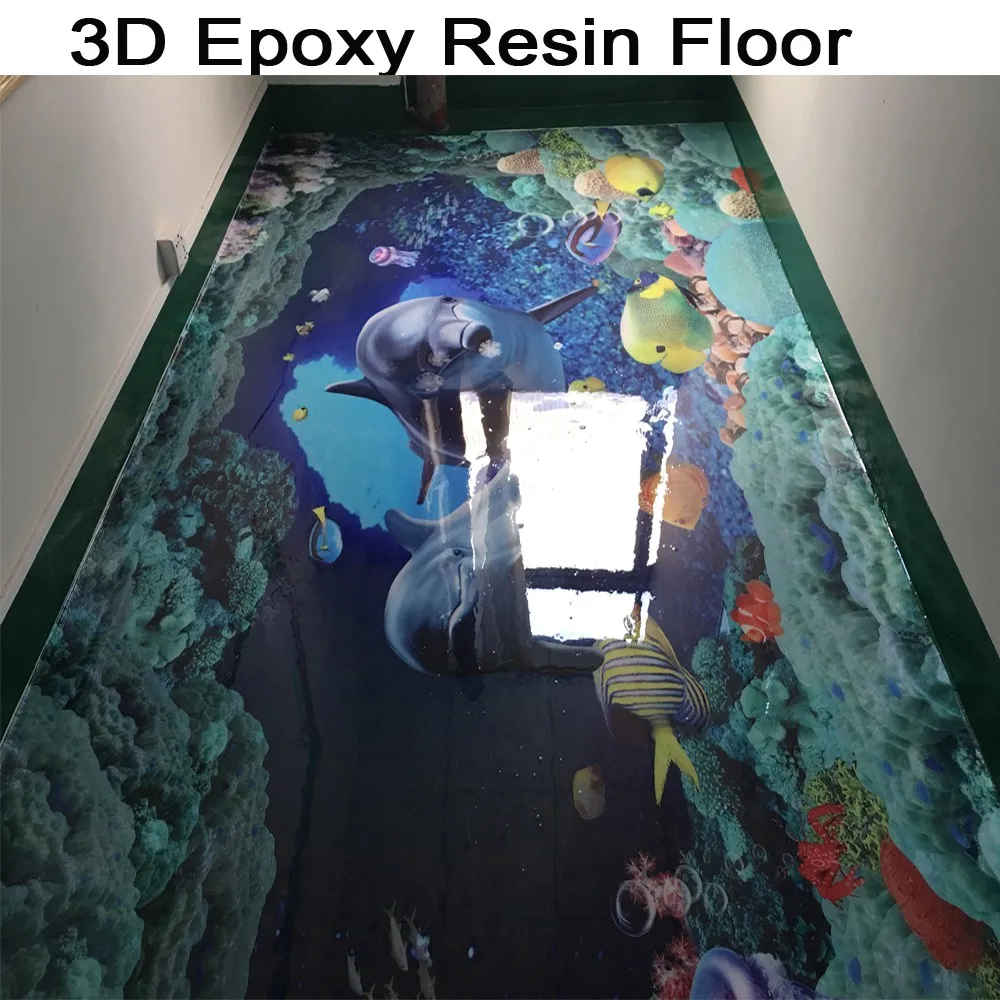
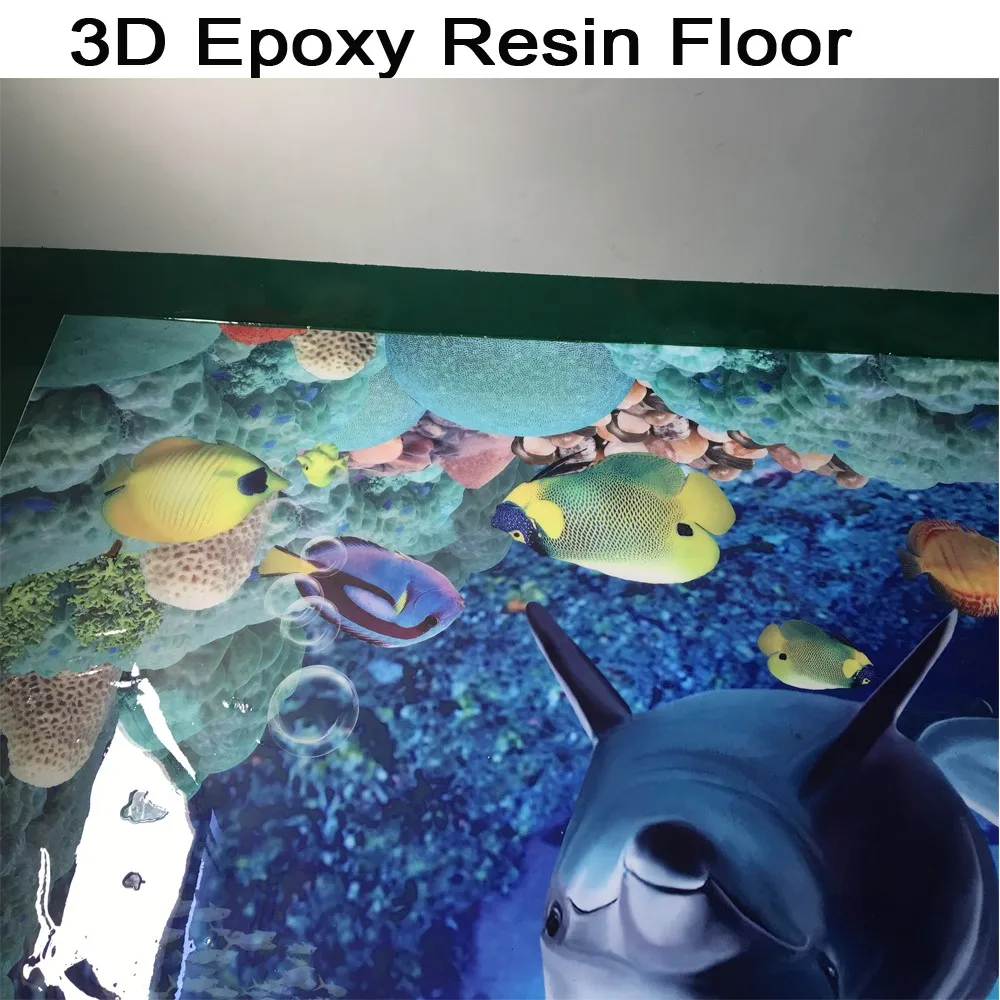
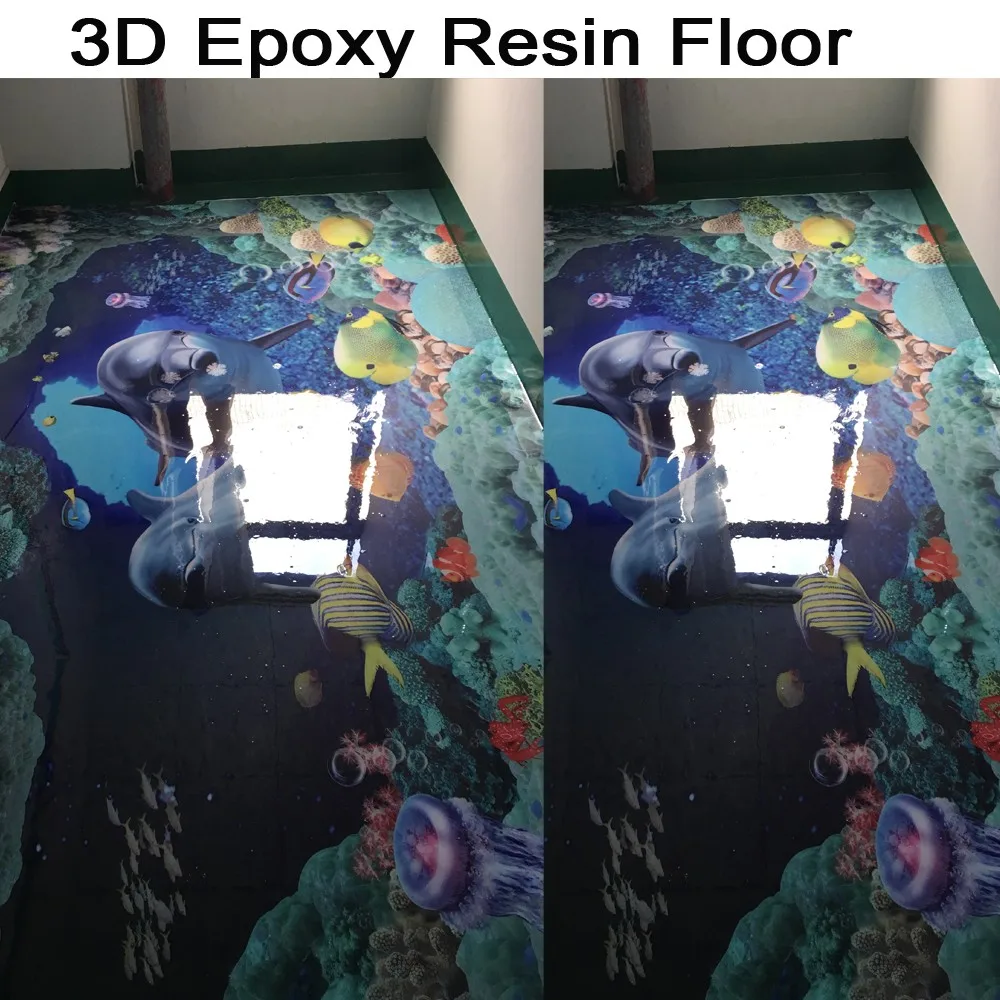
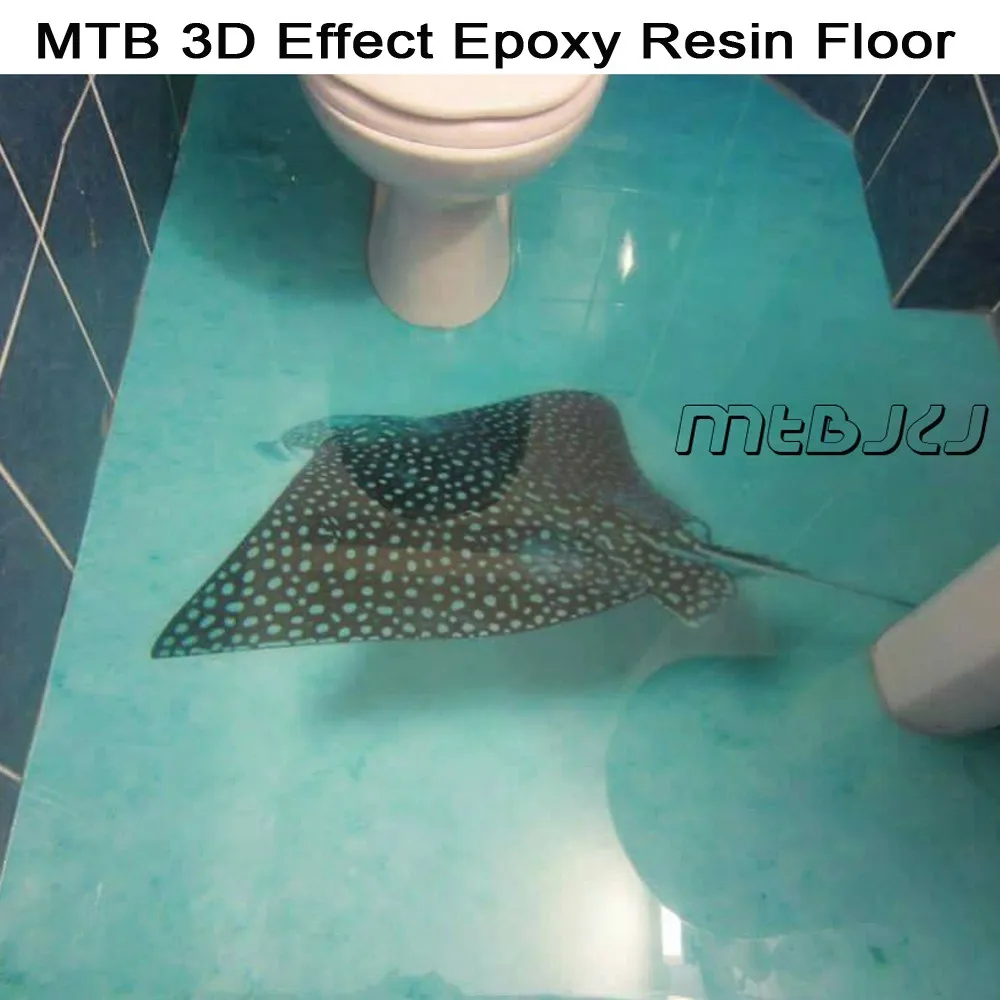
Visual effect – The most significant advantage of epoxy 3D floor is the stunning visual effect.
High strength – Epoxy is virtually impervious, and highly resistant to acids, chlorine and other materials such as bleaches and daily cleaners.
Easy maintenance – Epoxy 3D floor has no seams, joints, cracks, pores and gaps make the 3D flooring is absolutely immune to any kind of dirt, dust, water and chemicals.
Safe and hygiene friendly – Epoxy 3D floor does not accumulate dust and do not create a favorable environment for a variety of pathogens / bacteria.
Fire resistance – Epoxy / polymers do not burn, it is one of the reasons that the coating used in manufacturing, warehouses, hospitals, child care centers and other places where increased control of fire safety are needed.
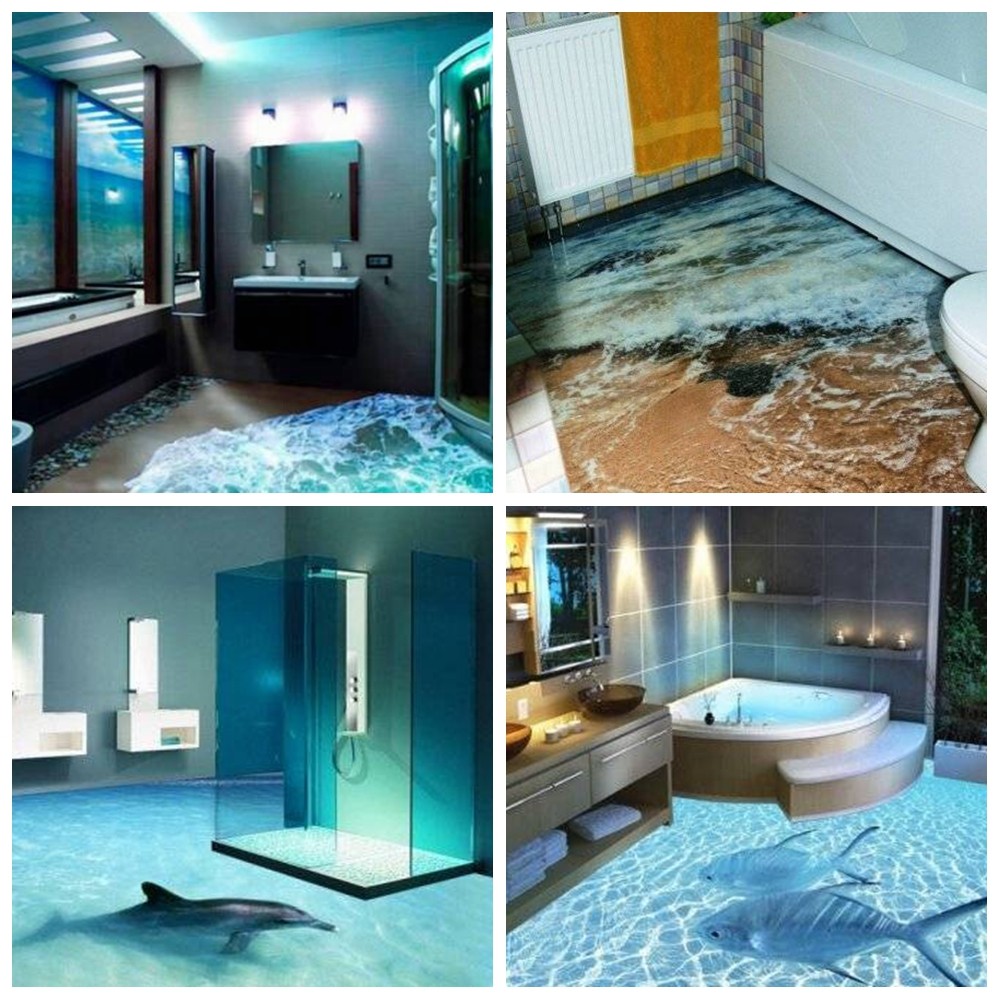

Epoxy Resin 3D Flooring
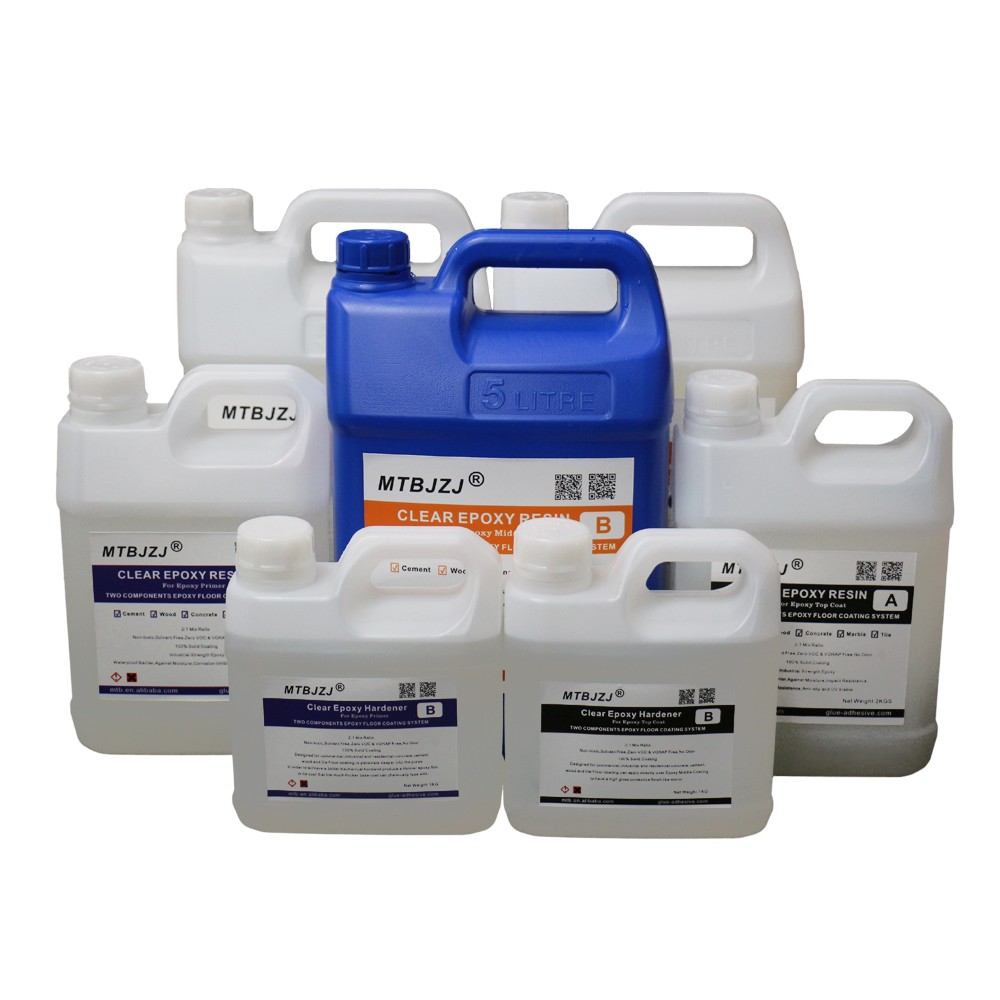
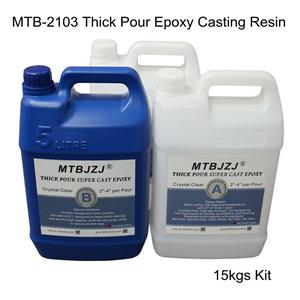
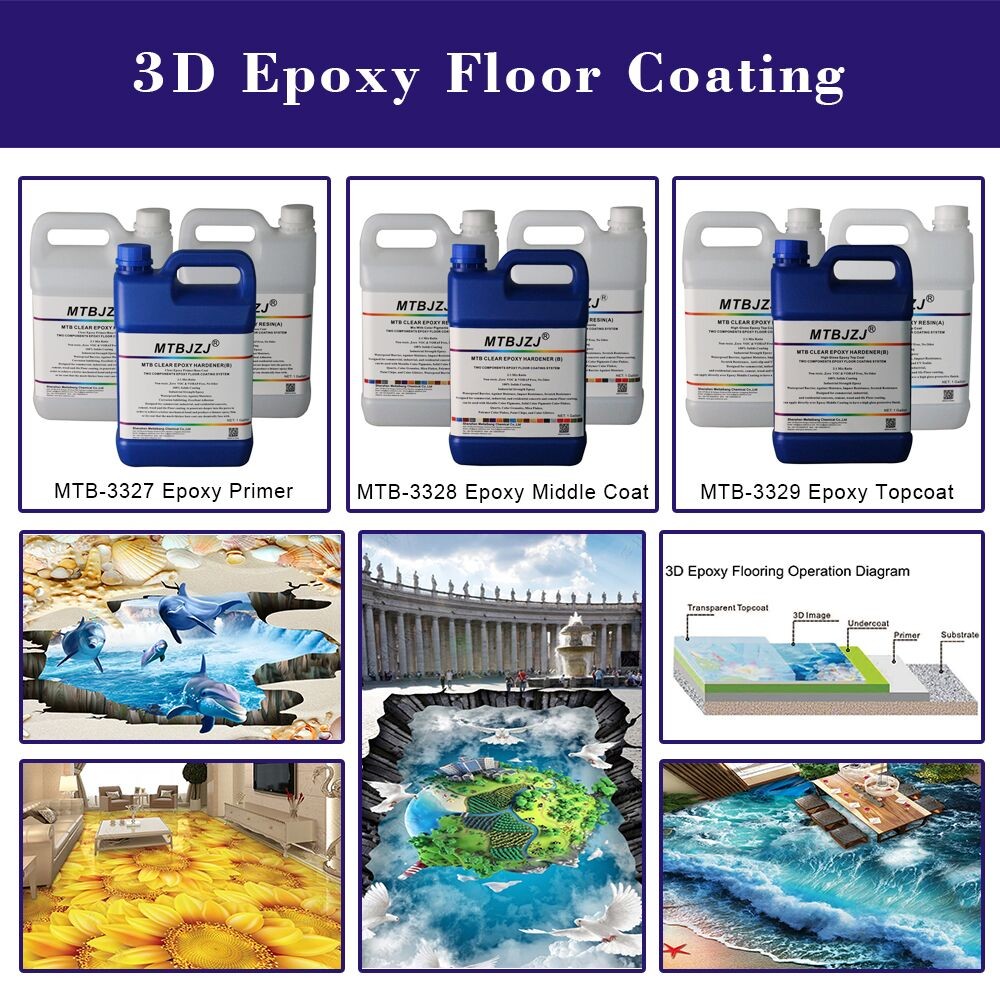
For the whole process of Epoxy Resin floor systems,there are 2 sets which is enough for floor coating and painting ,these are belows. It is the perfect finish for any floor, our 100% Solid Epoxy Resin is not only ideal for Industrial and Commercial projects but also for Domestic areas such as kitchens, living areas and bathrooms. Its high gloss finish reflects light beautifully thus visually enhancing the look, style, appearance and size of any room. Mixed together with our Metallic Pigment you can create a unique one of a kind floor tailored to your individual tastes and requirements.
What makes this product ideal is its strength and bonding characteristics not only hard wearing, easy to clean but also creates a flawless finish unlike tiles with grout lines. With a minimum depth of 2mm and its self-levelling properties installing this product couldn’t be easier making it ideal for DIY enthusiasts. Watch our installation video and see for yourself.

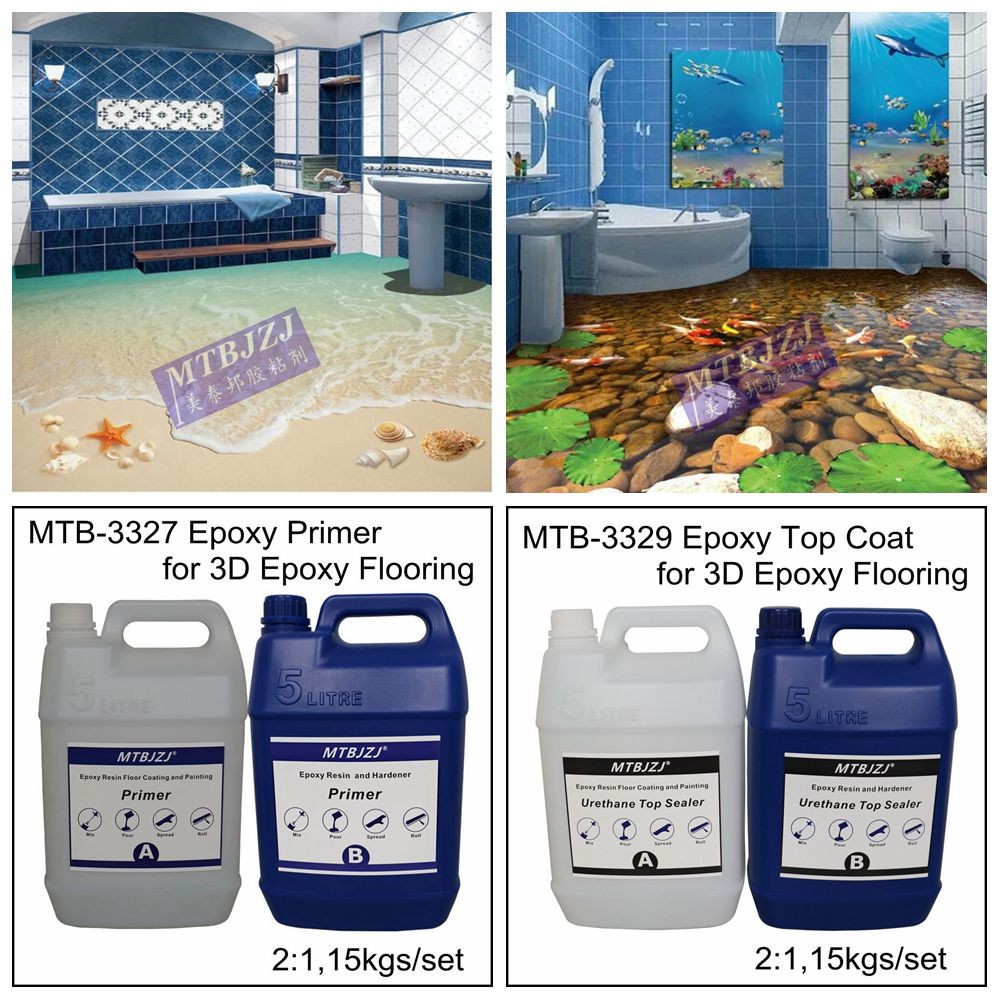
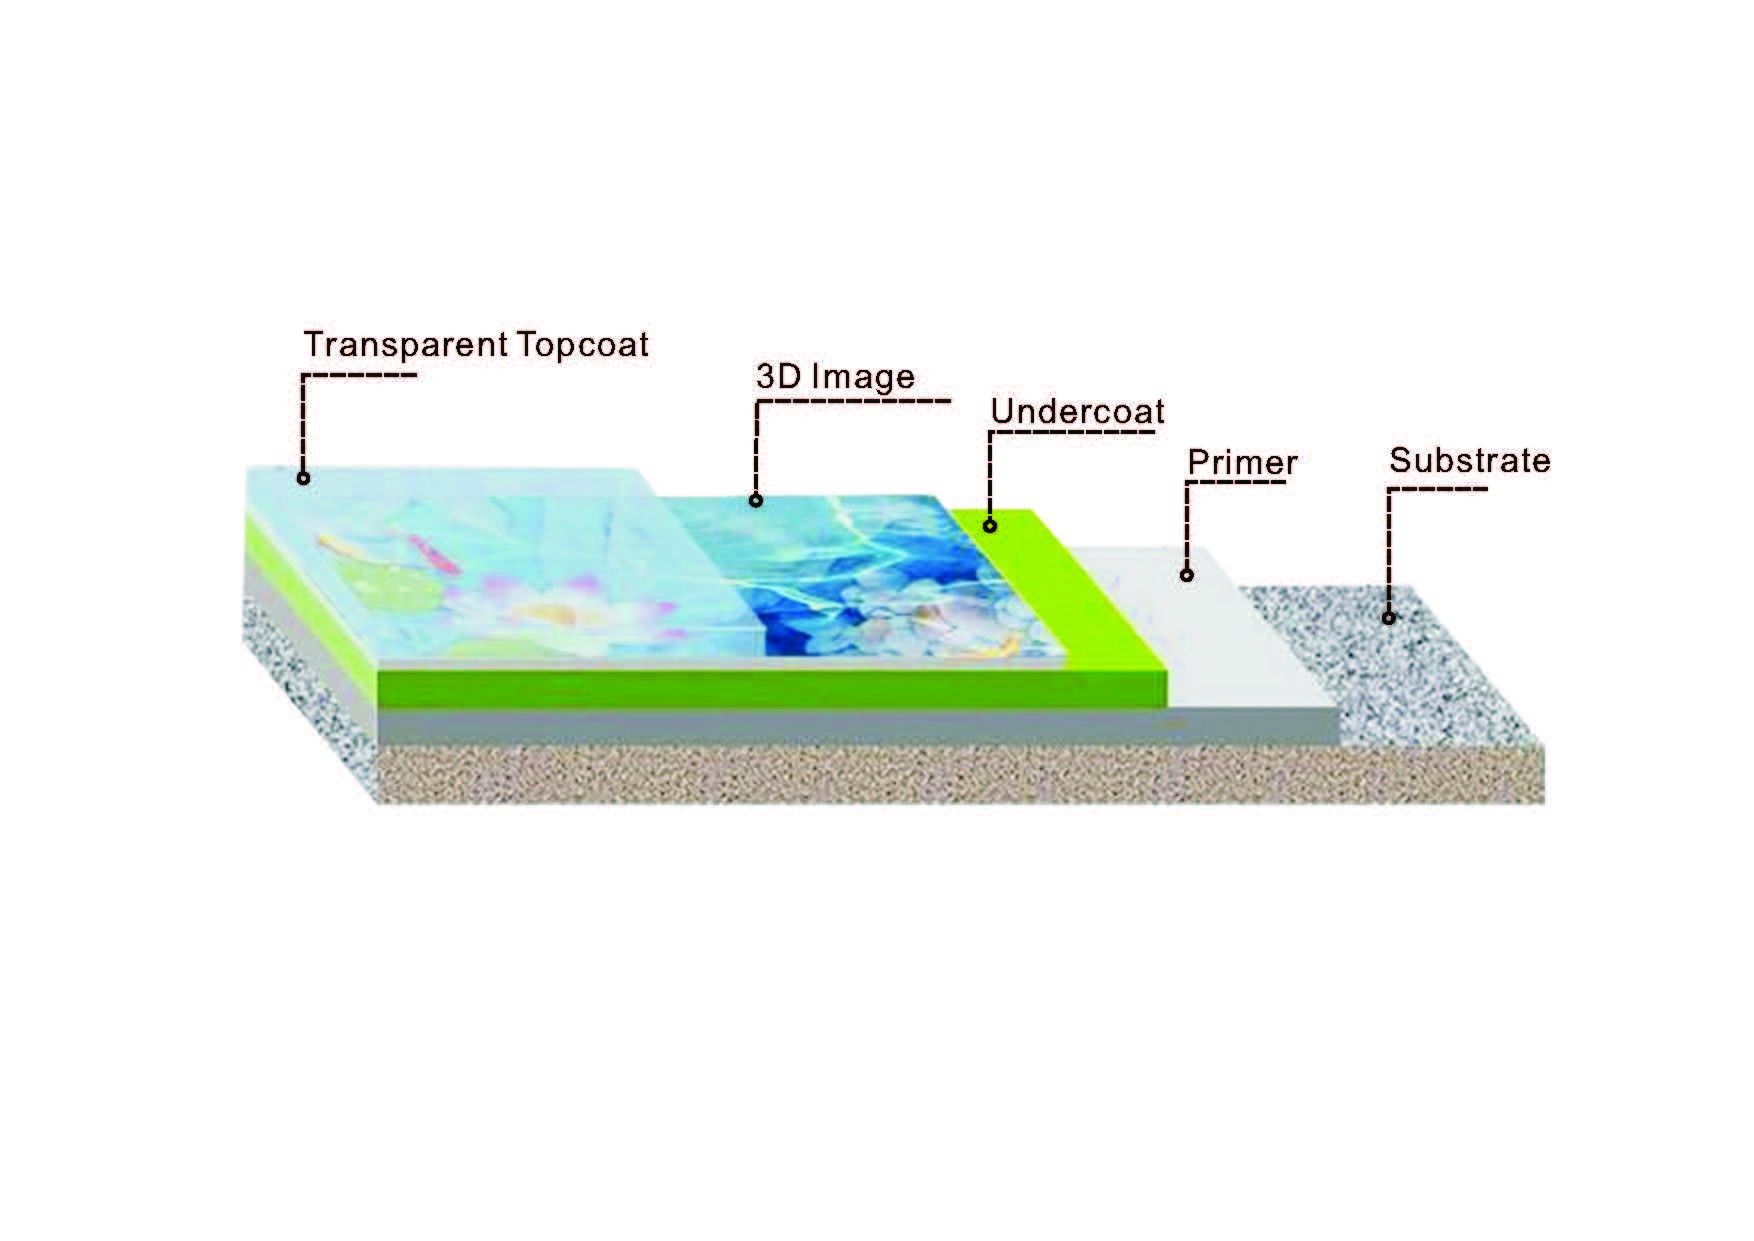
--MTB-3327 Epoxy Primer--Coating on the cement floor itself and coating permeability can strengthen the adhesion.In common it is clear ,100% solid content ,two components of epoxy resin and hardener ,with the mix ratio of 2:1,you can mix with the liquid colors or metallic powder pigments according to your requirements .To fill on the cracks and holes of the concrete and cement floor to make the surface smoothly and bond tight to aviod peel off easily.
---In the middle ,install the 3D Effect Stickers.
--MTB-3329Urethan Epoxy Self-level Surface Coating Layer or Top layer Coating (Varnish)--Can make the whole coating project to determine the role of color, luster bright, smooth and lively, the abrasion resistance, acid and alkali resistance, oil resistance, resistance to water, dust, etc. In common it is clear ,100% solid content ,two components of epoxy resin and hardener ,with the mix ratio of 2:1,you can mix with the liquid colors or metallic powder pigments according to your requirements .To make the top floor finished much more glossy and brighther and shines brigtly

Epoxy Resin 3D Flooring
Application
Used for professional epoxy primer on the ground construction,especially for concrete and cement floor
The Perfect Floor Systerm For
Retails Store Residential Living Spaces Hotels Schools Dealershops
Showrooms Shopping Malls Parking Lots Playing Grounds
Wine Cellar Auto Reparing Shops Kitchen Bathroom

Epoxy Resin 3D Flooring
As for the floor covering ,it is for 1 suquare meters floor,coating with the thickness of 0.1mm,it needs about 0.15kgs of MTB-3327 epoxy primer , and 0.15kgs top layer coating .

Epoxy Resin 3D Flooring
How to apply Epoxy on your floor ?
Step by Step Guide to installing your bespoke Epoxy floor
Step 1. Prepare the surface.
Preparation of the substrate is necessary in order to ensure adhesion between the epoxy product and the substrate. Suitable methods are sanding or diamond-grinding. Any surfaces that have been contaminated with oils may also require chemical cleaning.
Step 2. Sweeping and cleaning of the floor.
Use an industrial vacuum that picks up even small dust particles. The floor must be cleaned of all dusts and residues before starting to prime. Otherwise you will have various particles trapped within the coat and adhesion will be significantly weakened. The less micro-dust on the surface the less primer you will need.
Step 3. Prime the floor with a suitable epoxy primer of MTB-3327
Always prime the floor, don’t believe claims that priming is not necessary. Priming will give your floor a longer life and better adhesion to the substrate. Priming will seal the substrate thus eliminating the risks of bubbles and gasses. Priming helps reduce the amount of product that will be required in the later stages. Ensure that the areas are ventilated properly. It is common to coat two layers of primer in order to properly seal the floor. Use a proper electrical mixer to mix the A and B component of the primer. Use our Primer PR-100 ( john insert link)
Step 4. Fill all cracks, holes etc with epoxy grout.
(This step can also take place before priming if you prefer) For thin cracks it may be necessary to slice them with a diamond cutter before filling in order to improve the anchoring of the grout.
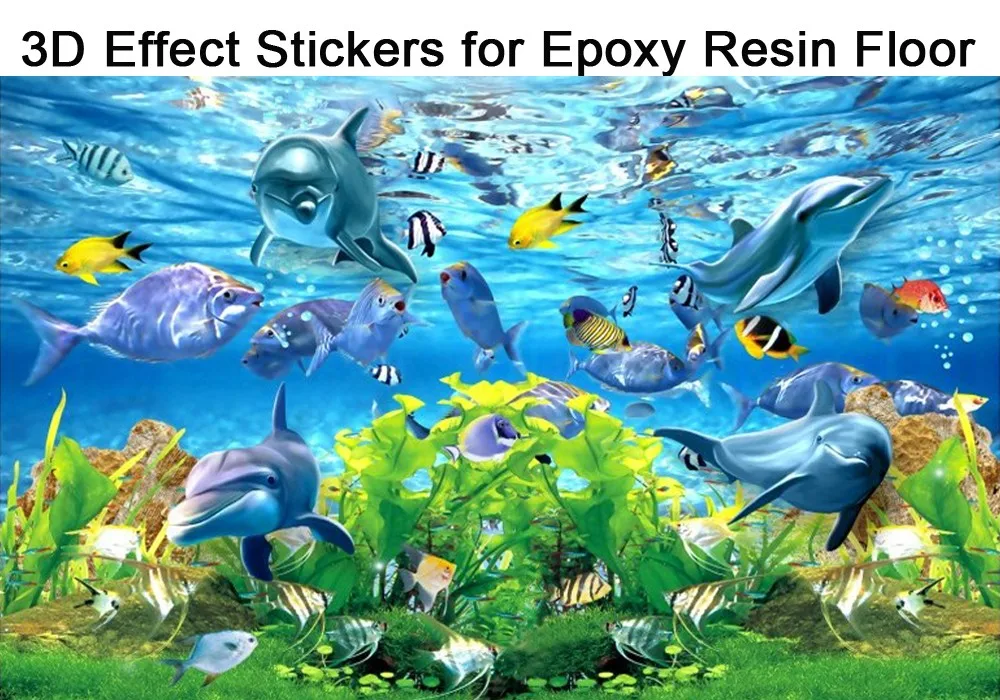
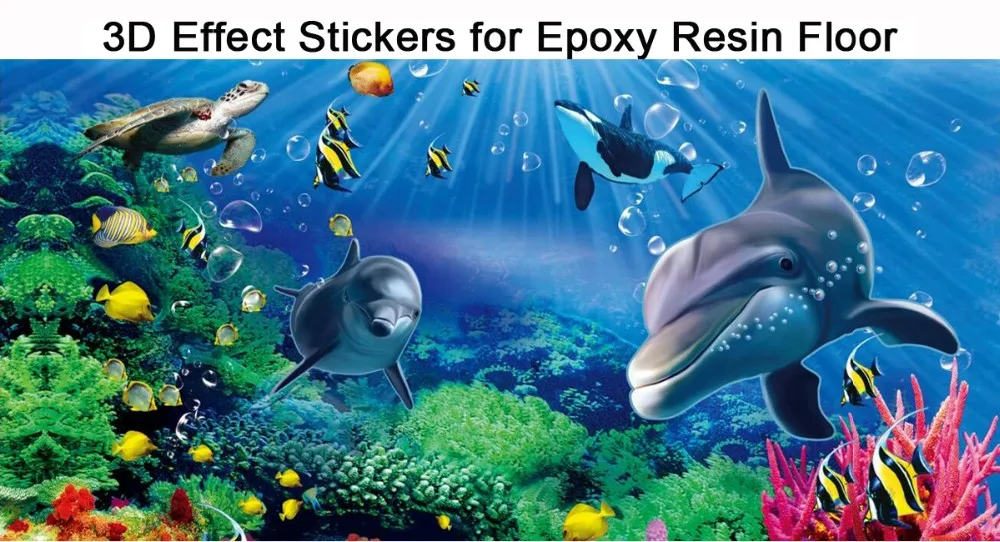
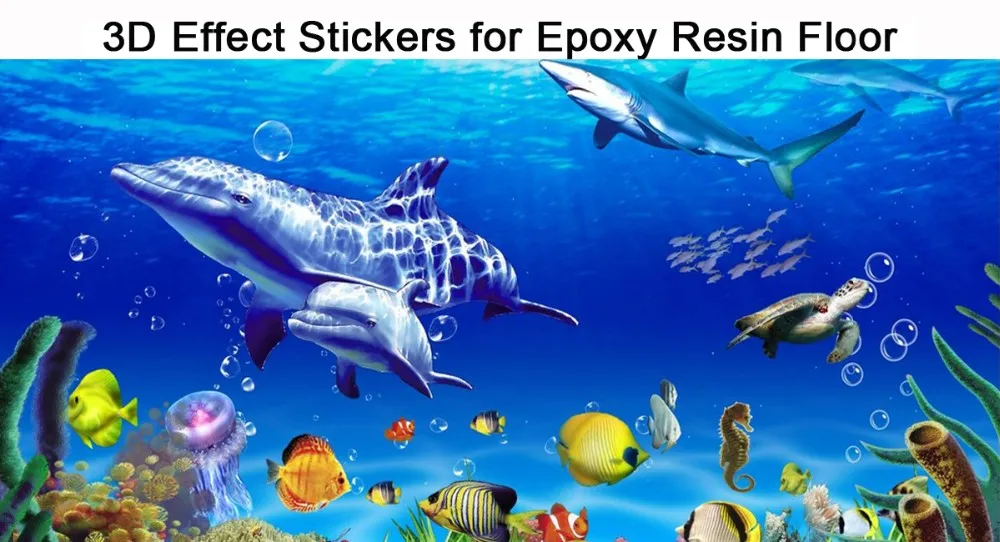
Step 5. Install the 3D Effect Stickers.(We can also supply you the 3D stickes and print as your own design ,accept OEM&ODM)
Put the 3D Effect Stikces on the surace of MTB-3327 Epoxy primer ,get some MTB-3327 to apply on the 3D effect stickers to make sure the 3D stickers bond tightly to the cement or concrete floor.
Step 6. Mixing of MTB-3329 Epoxy Resin .
Mix the hardener (part B) with epoxy resin and mix for 3 minutes. Follow this by then mixing the hardener with the Epoxy component (part A). Use an electrical mixer and mix at least for 3 minutes. Don’t skimp on the mixing! This step is very important. Poor mixing will lead to a tacky floor! Leave to settle for a few minutes allow bubbles to disperse
Step 7. Apply the product.
Once mixed pour the product in a random pattern across the area you wish to apply your Designer Epoxy foor Resin. Using a notched squeegee spread the product gently around until you have an even coat on the floors surface. Then use a good quality roller, as poor quality rollers may start to shed or spiked roller and back roll the product (be careful not to over do this process as colours will merge into 1 if over rolled)
Notes:There are a variety of ways to create different finishes, please ask a member of our team or visit one of our approved training centres for training.
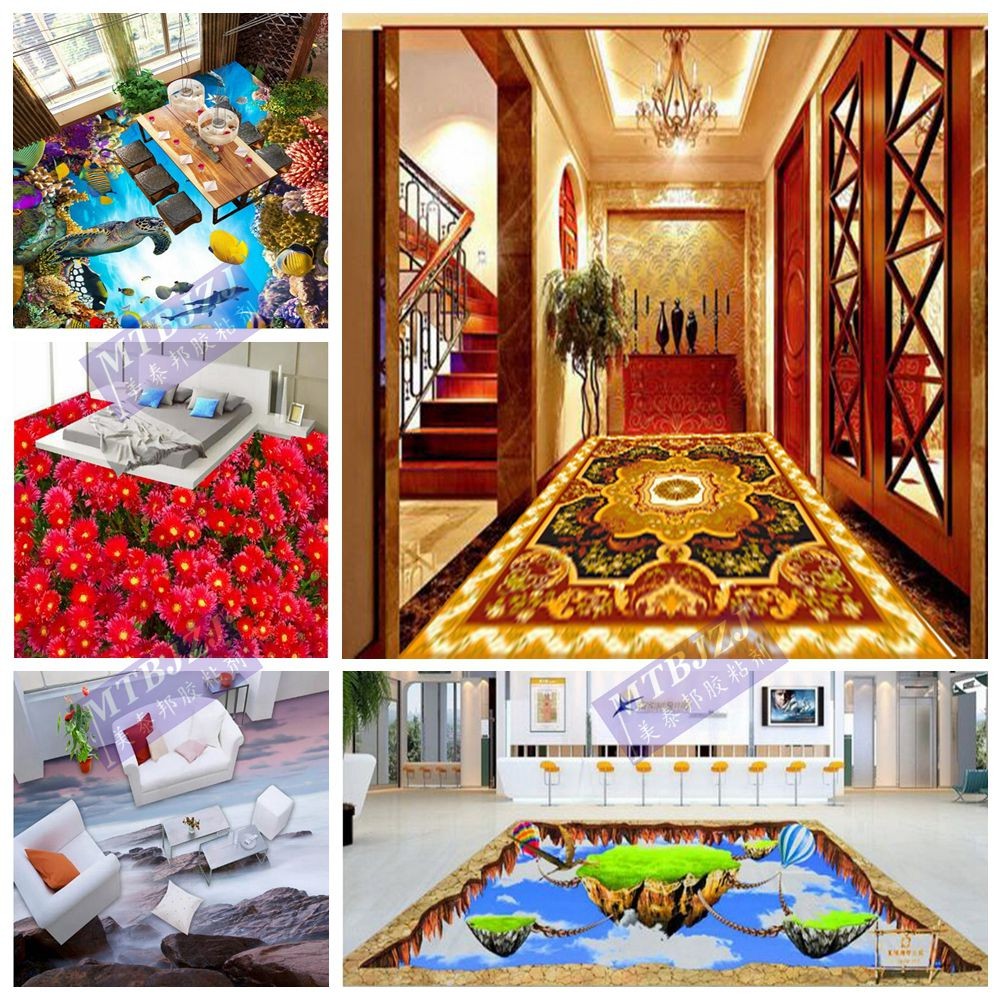
3D Effect Stickers what we have at present for your reference .


Epoxy Resin 3D Flooring
For epoxy resin AB glue ,the packing of our own is 8kgs/set,and 40kgs/set ,and we can do the packing as your designs and requirements.